New Outlet in Garage
 |
| Matt is in the attic, Molly wants to join him |
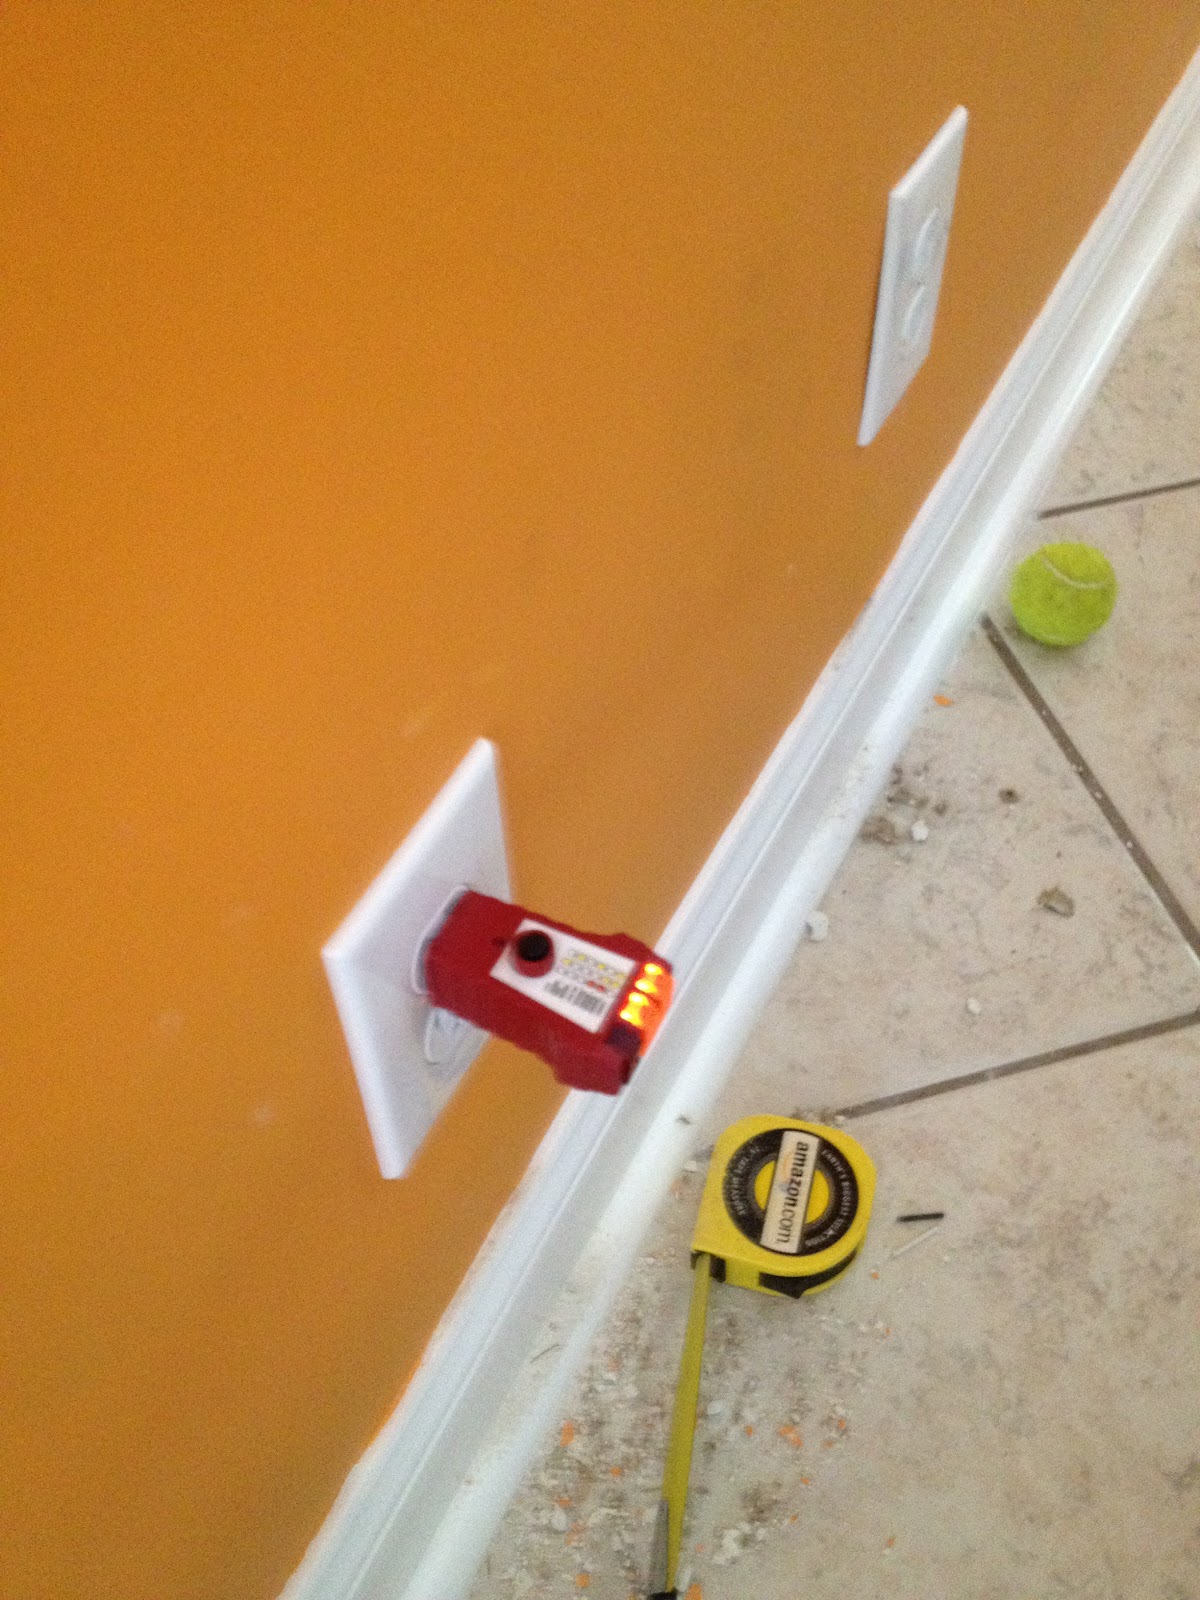
We added the first outlet to the garage when we took down the drywall in the pit. We decided it would be a great time to add a single outlet on the opposite side of the wall (just daisy chain off the existing outlet).
After Halley built the workbench we decided we wanted to add some more outlets right by the bench for power tools and chargers.
 I started working on the outlets late at night (when I'm working on the majority of my projects). I cut out the drywall for the electrical box, drilled holes in the top plate, and started fishing the fishtape through. Once I got the romex taped to the fishtape and started working it back up, I quickly noticed my 1/2" hole drilled in the top plate wouldnt be big enough to fit the fish tape and romex through. I started drilling a second hole right next to the original so enlarge it. The first hole went without issue, but while drilling out the second one, I must have hit a knot because the drill caught and pulled my hand into the floor of the garage attic space peeling away a good chunk of skin.
 I couldnt tell how bad this was as it hadnt started bleeding yet, so I promptly woke Halley up for a second opinion. (sorry Hal lol) We decided it didnt need stitches and bandaged it up. This was actually the first real injury between the two of us, so given the amount of DIY we've put in on the house, I think we're doing pretty good so far.
After my hand had healed a bit, I finished fishing the romex up to the attic space, and daisy chained off a nearby circuit (after calculating its current load) with a couple of junction boxes. The lines are run rather tight (as they should be) which doesnt leave any slack to tie off of, so I put two junction boxes in line with a romex "jumper" in between the two.
 |
| All done and working |
Moving to the pit
We finally decided that we are done with the pit and moved our temporary living into its final home.


 |
| Cleaned out Living Room |
 |
| "The Box Room" |
New outlet in pit
 How better to celebrate July 4th than a little electrical work? After moving everything into the pit, we promptly noticed that the only outlet behind the couch was tied to two 3-way light switches. I spent an entire night reverse engineering what order the light switches were connected in. I know how these switches work, how to replace them, and how to install them, but there are a number of ways to do it and the only good way to figure out how the previous electrician did it, is to test lead by lead with a multi meter.
  This is a diagram of the way our switches were wired. (but remove the wire nuts on the white wire). They ran the neutral directly to the outlet, and the hot directly to the first switch, then to the second, then to the outlet. This made it impossible to tie off this outlet to add an additional one.
 Fortunately, there was a lightswitch to the basement on the opposite side of the wall I could tie off of. The box that was installed would not let me add any additional connections (only had three holes) So I decided to sawzall it out and replace the box.
Either the replacement box was a bit deeper, or the sawzalling went a bit overboard because there is a bit of a blemish in the pit now that we'll have to refinish :) oops! Halley had spent some time in the lab (on the 4th no less) and was mid-complement when she noticed the dent. She promptly started laughing.
 |
| All done! |
Adding light to Hallway closet
 The hall closet upstairs needed to be painted (it along with every other surface in the entire house, ceilings included, is covered in wall paper) so we took all the shelves out and painted it with primer oil paint (the same technique we used in the pit to avoid removing the wallpaper).
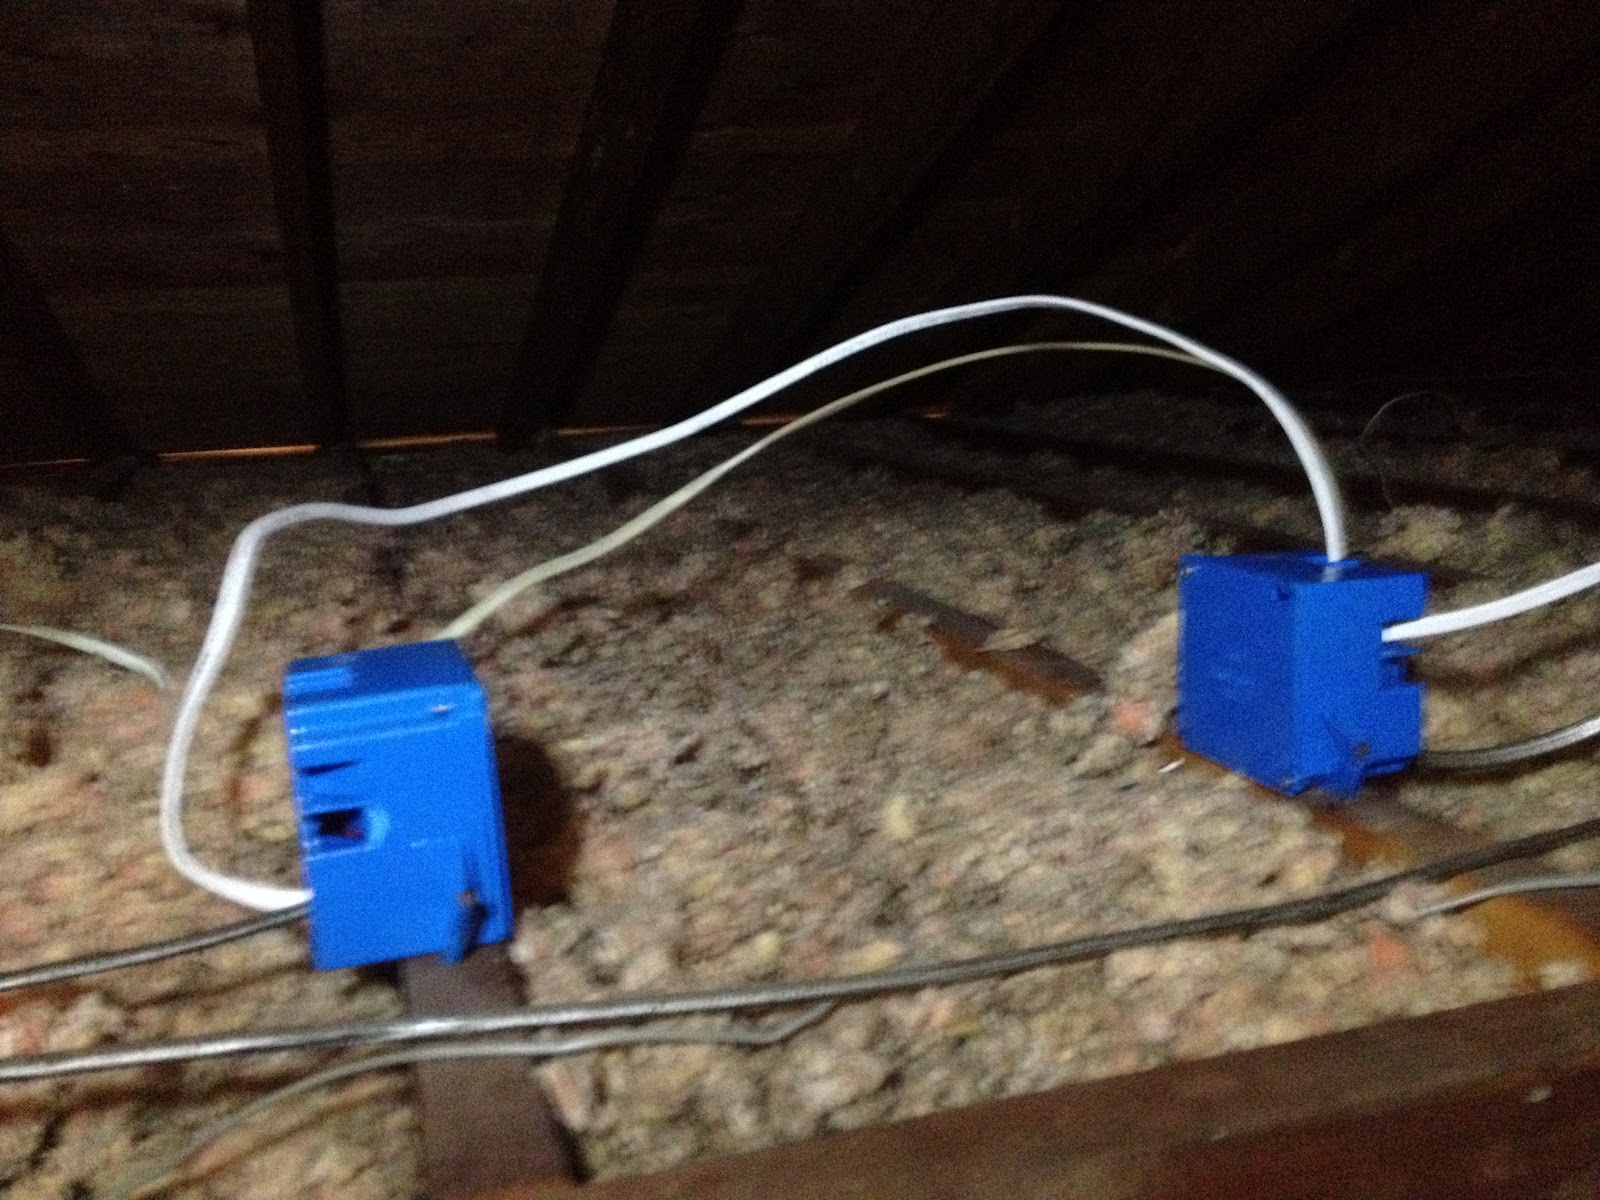 We wanted to add a light to this closet, but we thought of this after we had painted (not the ideal order of operations). So I went up to the attic for my first foray into ceiling lighting. I used the same technique as the garage to tie off an existing circuit (that I calculated for amperage, so that we aren't popping breakers).
The attic was sweltering and you could feel the heat pour down into the rest of the house anytime I opened the port. The light installed without issue, and we put the shelves and all their goodies back in and everything looks great! This allowed us to mostly empty the adjacent bedroom of boxes, yes there are still boxes to unpack.


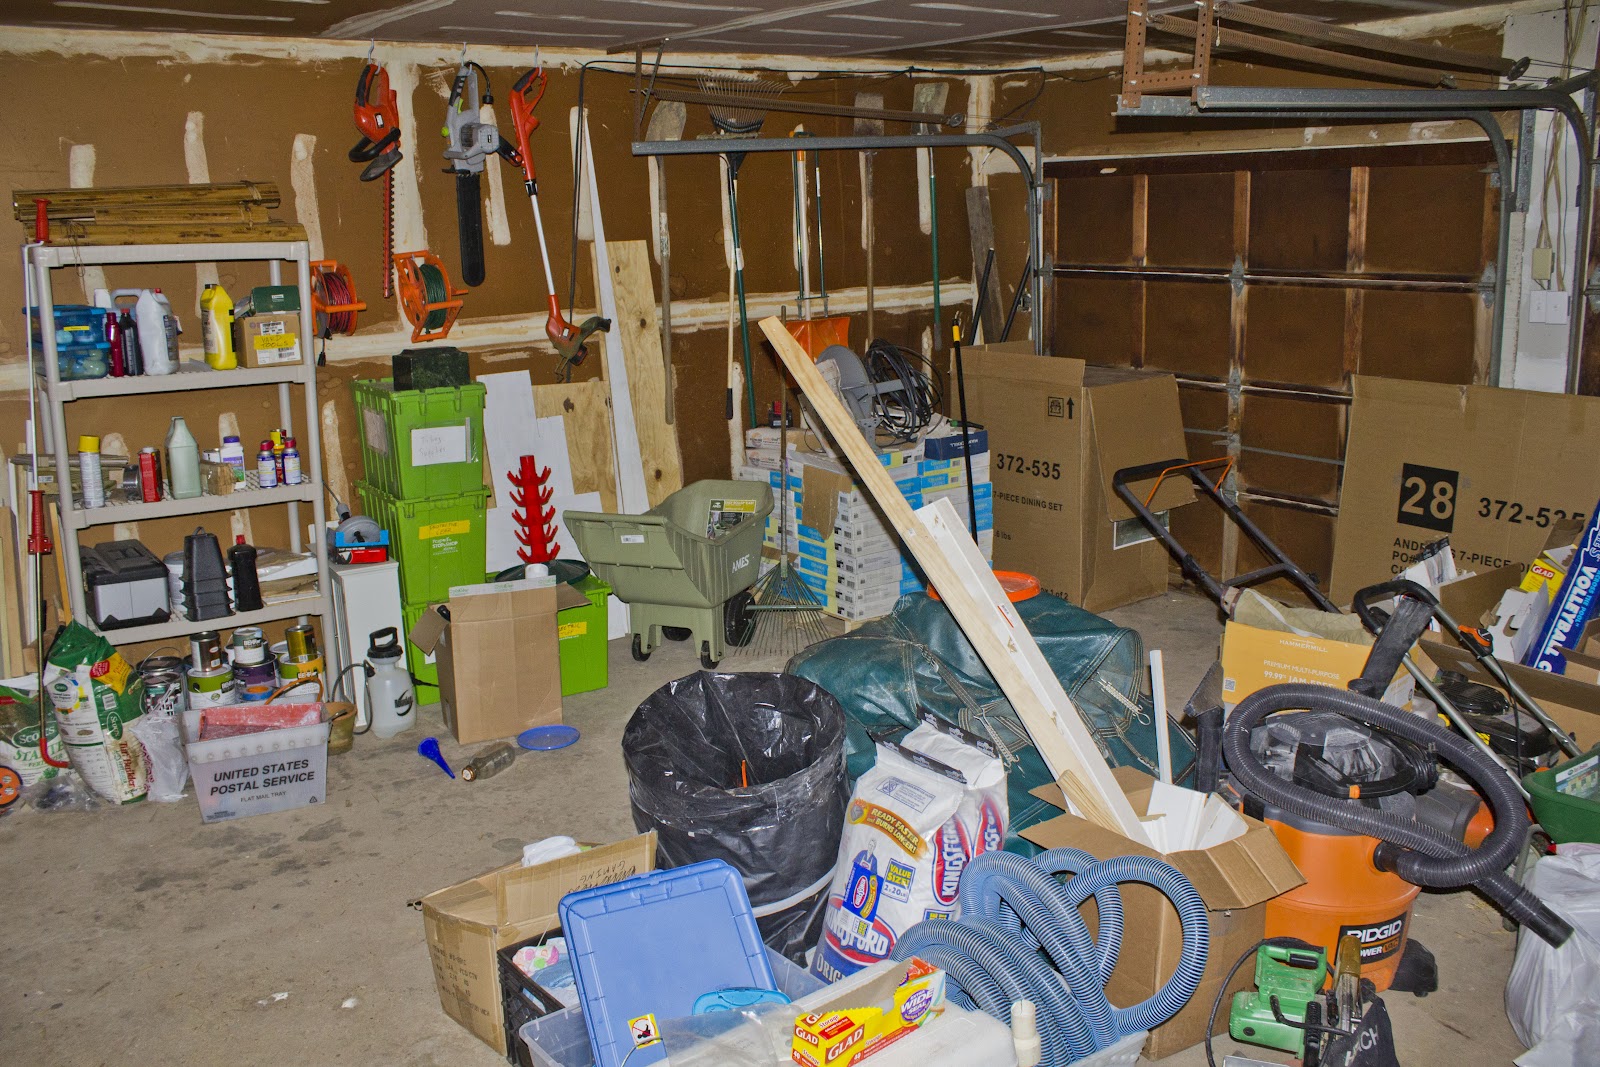
Cleaning the Garage
We spend almost the entire Sunday doing this, then treated ourselves to some Yardley Ice House goodies and a dip in the pool with our awesome neighbors (and a former lab mate of Halley's) Kim and Brad Fuller.
Cleaned Garage pics:


Fixing Pool-i
 Pool-i's scrub brushes were looking a bit worse for wear, so we decided to replace them along with the clips that hold the bottom on, as well as the electrical plug that was starting to fall apart.
Halley also fixed an issue that was causing his top arm to fall off periodically.
Pool-i is now firing on all cylinders and cleaning the pool better than ever.
 Raspberry Pi
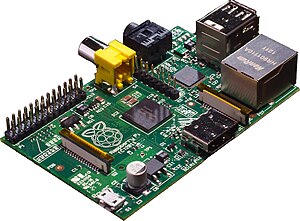
This is the first of many tech entries to come for our "smart" house. I purchased a raspberry pi as soon as you could (end of February) and there was such a demand I didnt get it until mid june.
This little guy is about the size of a credit card, cost $35 and is a full fledged computer with 2 USB, HDMI, composite video, and gpio pins. We are currently using this to watch movies/music I've loaded onto a network storage device. I also have dlna and airplay running (this allows anyone with an iphone/android to play video directly from their phone to our TV in real time.
Alot of newer TV's have "smart" capabilities built in, this device allows me to do anything those TV's can do, and anything else I can think of. Once we start adding more smart home devices (like automated lights, door locks, garage door, etc) these will all be controllable via phones/ computers/ and now the TV.
Here is my first test with a few smart outlets and light sockets controlled via my phone which is talking to the raspberry pi.
 I've also started to reclaim old tech projects for the house. I purchased an 8" touchscreen digital picture frame that happens to be running linux (a very hackable operating system if you are a nerd). I am now using this as a touchscreen remote for the tv that sits next to Halley so she can better control the fancy new smart tv.
But the nice thing about all of these "toys" is that they are running operating systems that allow me to literally do anything I can dream up, so as the house grows, the amazing silly thing I'll be able to do with these will get better and better.

Umbrella stand fix
 The base of the cantelever umbrella stand got bent as the umbrella blew over in a gust of wind. We got by with stacking a few cinder blocks on the back of the stand but that was a temporary solution. Halley constructed a new support system out of pressure treated lumber. She sandwiched 1" x 6" lumber between two 2" x 4"s to account for the strange shape of the base. She secured it with galvanized screws so it will stand up to the elements. No more tipping umbrella for us!


