A blog to chronicle the trials and tribulations of house noobs attempting to tackle every home improvement project under the sun with some help from family and a lot of googling.
If you've been to our house anytime before last week you have probably fought with the knob on our front door. It constantly felt stuck, and somehow loose at the same time. We finally got sick of it and decided to replace it.
We started by removing the existing one, which surprisingly wasnt as hard as 99% of the other "removal" processes we've encountered in this house so far. We did notice an odd rouge screw sitting inside the deadbolt's cavity. We shrugged our shoulders and removed it.
After removing all of the old hardware, we immediately noticed the new strike plate is larger, so we needed to chisel away a new "pocket" for it.
Chiseling away a pocket to fit the new strike plate
After we put everything in place, we wanted to rekey the lock to our existing keys. The locks we bought have a nice feature that lets you set the lock to any key that will fit in it. Halley started reading the instructions and charged ahead on this project. After a short bit we realized that we rekeyed the lock incorrectly so that no key would open the door.
We found some guides on how to "hack" these locks, but decided we'd rather be SURE we can lock the door at night so Halley headed back to Home Depot to get a new lock core. The gentleman at the key desk gave us a new cylinder for free and re-keyed it to ensure it was done properly.
Replaced Garage Door Lock
Interior View
We're not quite sure how, but the knob that you turn to lock the bolts into the track of the garage broke and fell out one day. This left our garage door open to the public for their pillaging pleasure (no one bothered our stuff, thank goodness). We got a replacement mechanism at good ol' Home Depot, the install was uneventful.
Exterior View
Monitor Mount
The "lair"
Matt has quite a "lair" of a computer room. While most people get by with a laptop screen, he find 4 monitors allow him maximum productivity for a wide array of projects. I go along with this scheme because the monitors are almost all second hand, and they are powered down when not in use (which is often). The fourth monitor now resides over the electronic drum kit, with additional keyboard and mouse to follow. We've had the monitor mount for a while, but in the move we lost the bracket that mounts to the wall to hold the whole thing up. After month's of searching, I found it in the yogurt container with the other wall hardware that was hastily removed as we left the apartment. Now everything is in it's proper place. Picture Frames
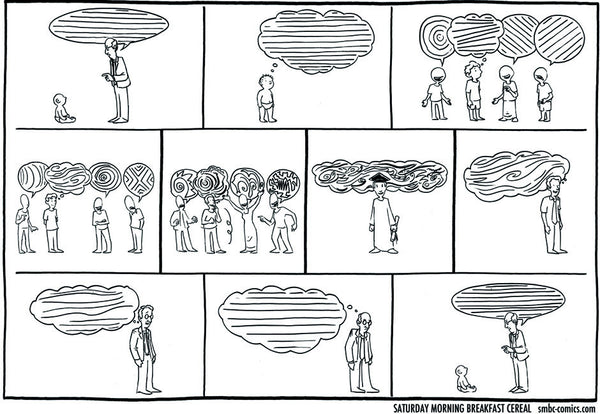
In the effort to put the finishing touches on the Pit, we've hung some of our wall art. Featured pieces include the finger print tree from our wedding, two photos from my cousin Dave Soffa, a series of photos of the moon through the phases of an eclipse and two prints Matt ordered that he really loves. One is a quote from a video game and the other is a comic about how the way we think changes as we age.
Car
The new whip
After 21 dutiful years on the road, Matt's Honda Civic puttered for the last time to Uncle Chris's shop. The cost of repairs represented more than double the Kelly Blue Book value for the car, it was time to say goodbye. We knew our next car would be a Honda, as we have seen them be fantastic in light of our terrible maintenance record. Recently Matt commented that my check-engine light was on, I assured him that is was always that color. After getting the car back from inspection with a few repairs, the light is now off. I have no idea how long I was driving with it on. Aaaanyway, back to the new car purchase.
Spreading fur all over the place on Day1
We tried to think of the "most flotsam to transport" scenario. Our conclusion was going camping at Harper's Ferry with at most two car seats and at least one dog. The CR-V was the logical conclusion, bigger than the Element, but not as enormous as the Pilot. We love everything about it and are very grateful to our Uncle Chris for all his advice and help with the transaction.
On our first trip to Home Depot after the purchase, we stood at a black Toyota Rav4 hitting the unlock button on the keys to no avail. We've never had a big car like this before and are still getting used to it. Although we knew Matt's car would bite the dust soon, the purchase will still slow some house projects. C'est la vie, we love the car and can garden in the mean time.
Bonded Water Heater
One of the items on our "The home inspector told us to do it, so we are going to do it" list was to Bond the Water heater. After googling this a bit, Matt found that most people find this to be a bit overkill, but since it was only about 5$ in hardware we decided to do it anyway. The basic idea is that the cold water line is grounded naturally, but the hot could potentially build up a charge and discharge near a gas line or something scary. So all you need to do is slap some wire between the two. (He did follow the specifications online for gauge and placement, but in reality, it doesn't matter)
Water Heater Pilot
I shower in the morning and the water was just not getting hot, just barely above room temperature, which would explain why Matt didn't notice a problem. Convinced the water heater was dying, and given the warning that it would need replacing in the home inspection, we started looking online for a new one. In a stroke of genius, Matt went to check the pilot light, which should have been the first step. The pilot light was out, causing the total lack of hot water. Next time before we look to replace something, we should take a better look at the actual machine.
Pit Wall Repair
After the bump out of the wall in the Pit, we needed to do some repair work. We cut away the layer of wallpaper and sanded the opening smooth. After a few rounds of spackle, sanding and finally some paint, it doesn't look too shabby. There is a texture difference, and even a color difference (despite the cans being mixed and purchased at the same time, with the same spec's) which is mostly hidden by the wedding fingerprint picture anyway.
When we first moved in, there were no outlets what so ever in the garage. The only electricity to speak of was a single light bulb in the middle of the room connected to three 4-way light switches just in case you wanted to turn the light on and off in three different places. We should have some light switch rave's.
We added the first outlet to the garage when we took down the drywall in the pit. We decided it would be a great time to add a single outlet on the opposite side of the wall (just daisy chain off the existing outlet).
After Halley built the workbench we decided we wanted to add some more outlets right by the bench for power tools and chargers.
I started working on the outlets late at night (when I'm working on the majority of my projects). I cut out the drywall for the electrical box, drilled holes in the top plate, and started fishing the fishtape through. Once I got the romex taped to the fishtape and started working it back up, I quickly noticed my 1/2" hole drilled in the top plate wouldnt be big enough to fit the fish tape and romex through. I started drilling a second hole right next to the original so enlarge it. The first hole went without issue, but while drilling out the second one, I must have hit a knot because the drill caught and pulled my hand into the floor of the garage attic space peeling away a good chunk of skin.
I couldnt tell how bad this was as it hadnt started bleeding yet, so I promptly woke Halley up for a second opinion. (sorry Hal lol) We decided it didnt need stitches and bandaged it up. This was actually the first real injury between the two of us, so given the amount of DIY we've put in on the house, I think we're doing pretty good so far.
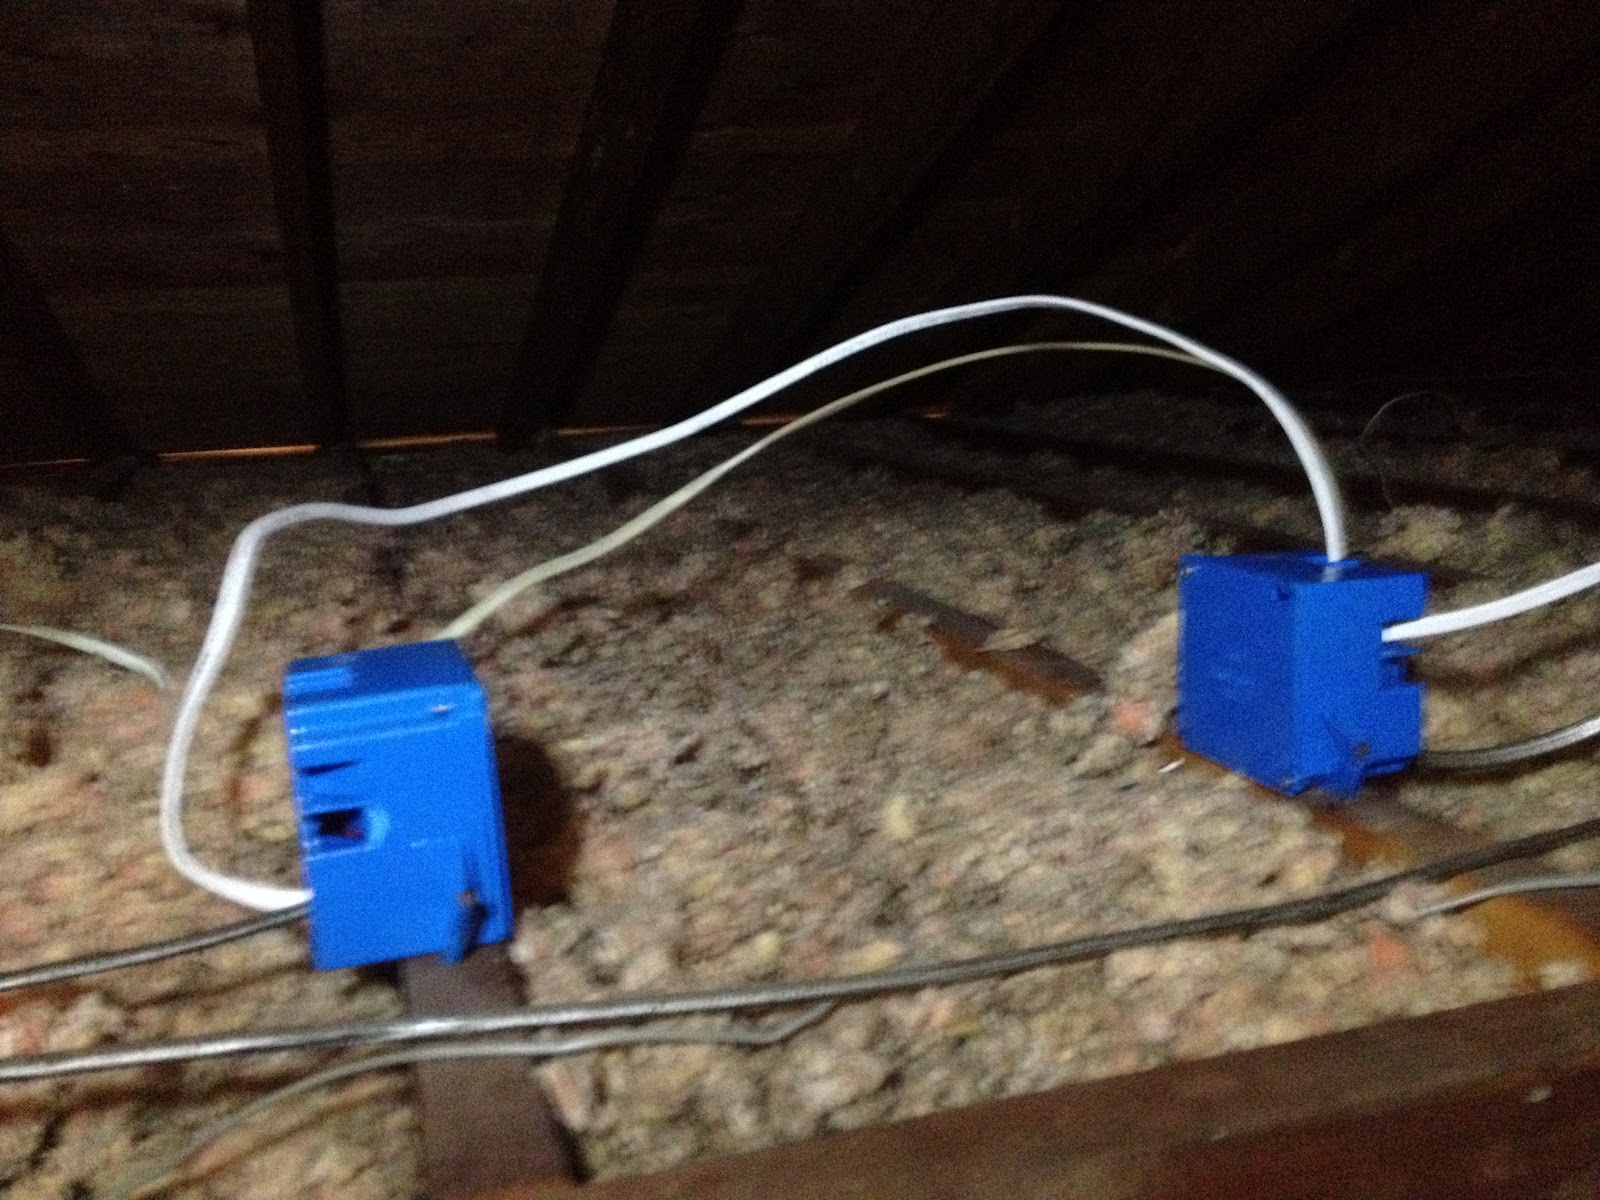
After my hand had healed a bit, I finished fishing the romex up to the attic space, and daisy chained off a nearby circuit (after calculating its current load) with a couple of junction boxes. The lines are run rather tight (as they should be) which doesnt leave any slack to tie off of, so I put two junction boxes in line with a romex "jumper" in between the two.
All done and working
Moving to the pit
We finally decided that we are done with the pit and moved our temporary living into its final home.
Cleaned out Living Room
"The Box Room"
New outlet in pit
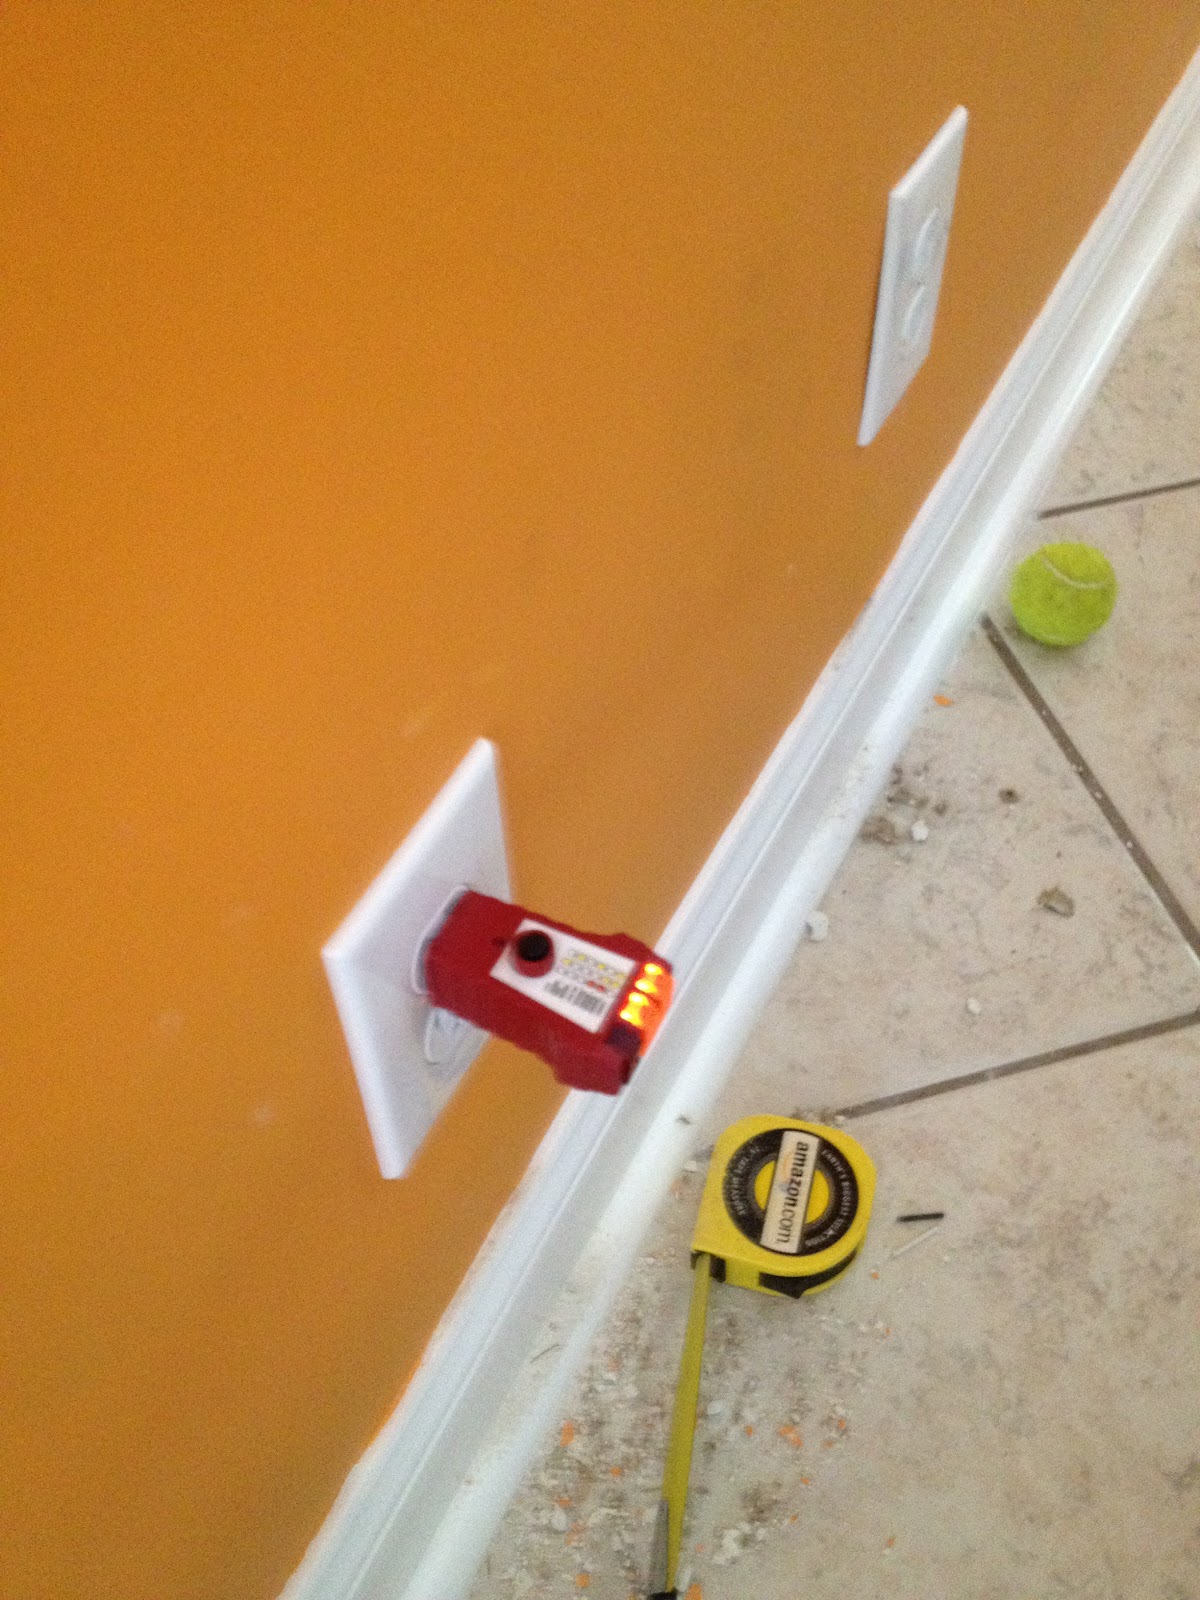
How better to celebrate July 4th than a little electrical work? After moving everything into the pit, we promptly noticed that the only outlet behind the couch was tied to two 3-way light switches. I spent an entire night reverse engineering what order the light switches were connected in. I know how these switches work, how to replace them, and how to install them, but there are a number of ways to do it and the only good way to figure out how the previous electrician did it, is to test lead by lead with a multi meter.
This is a diagram of the way our switches were wired. (but remove the wire nuts on the white wire). They ran the neutral directly to the outlet, and the hot directly to the first switch, then to the second, then to the outlet. This made it impossible to tie off this outlet to add an additional one.
Fortunately, there was a lightswitchto the basement on the opposite side of the wall I could tie off of. The box that was installed would not let me add any additional connections (only had three holes) So I decided to sawzall it out and replace the box.
Either the replacement box was a bit deeper, or the sawzalling went a bit overboard because there is a bit of a blemish in the pit now that we'll have to refinish :) oops! Halley had spent some time in the lab (on the 4th no less) and was mid-complement when she noticed the dent. She promptly started laughing.
All done!
Adding light to Hallway closet
The hall closet upstairs needed to be painted (it along with every other surface in the entire house, ceilings included, is covered in wall paper) so we took all the shelves out and painted it with primer oil paint (the same technique we used in the pit to avoid removing the wallpaper).
We wanted to add a light to this closet, but we thought of this after we had painted (not the ideal order of operations). So I went up to the attic for my first foray into ceiling lighting. I used the same technique as the garage to tie off an existing circuit (that I calculated for amperage, so that we aren't popping breakers).
The attic was sweltering and you could feel the heat pour down into the rest of the house anytime I opened the port. The light installed without issue, and we put the shelves and all their goodies back in and everything looks great! This allowed us to mostly empty the adjacent bedroom of boxes, yes there are still boxes to unpack.
Cleaning the Garage
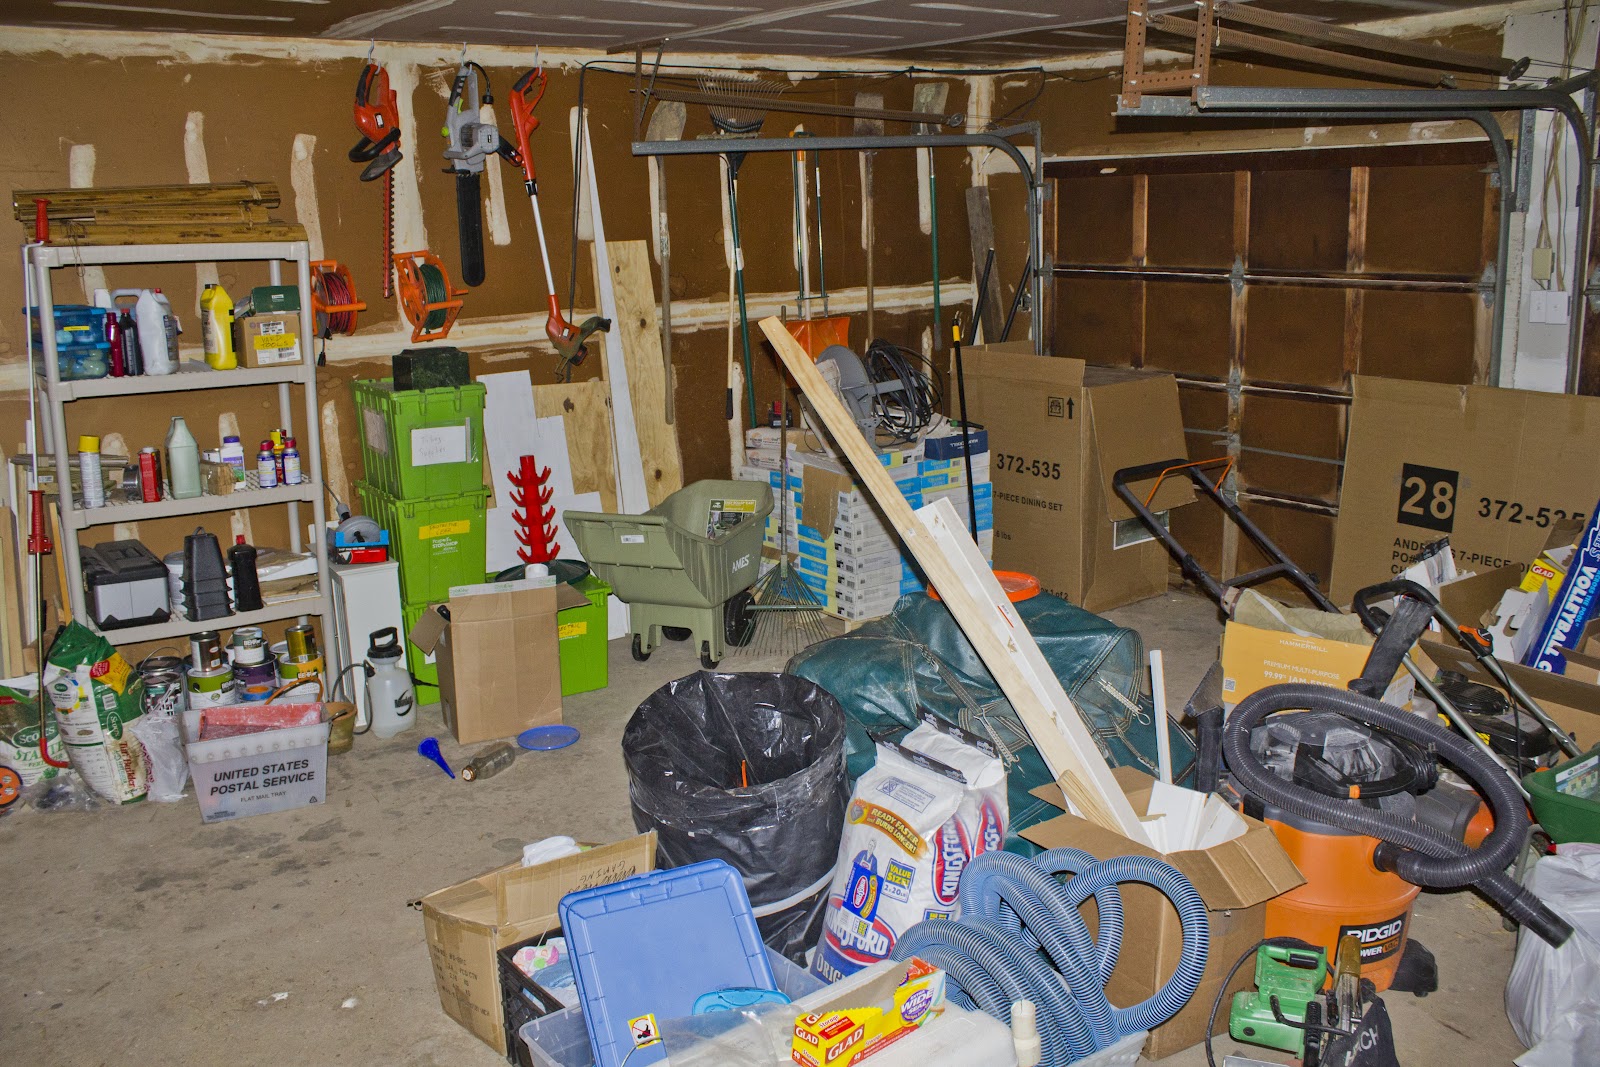
You'd think we would have done this before adding the outlets. That would have made sense... but, we decided on finally cleaning up the garage, and of course forgot to take before pictures. You'll have to take our word that it was bad. I think you could only see the floor on about 5-10% of the floor. There were paths in the junk we had fashioned out of sheer laziness. Friends who came by or a dip in the pool wondered how we acquired all this "stuff" so quickly.
We spend almost the entire Sunday doing this, then treated ourselves to some Yardley Ice House goodies and a dip in the pool with our awesome neighbors (and a former lab mate of Halley's) Kim and Brad Fuller.
Cleaned Garage pics:
Fixing Pool-i
Pool-i's scrub brushes were looking a bit worse for wear, so we decided to replace them along with the clips that hold the bottom on, as well as the electrical plug that was starting to fall apart.
Halley also fixed an issue that was causing his top arm to fall off periodically.
Pool-iis now firing on all cylinders and cleaning the pool better than ever.
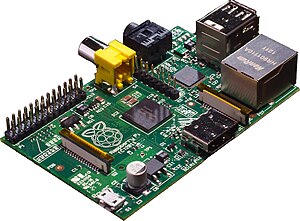
Raspberry Pi This is the first of many tech entries to come for our "smart" house. I purchased a raspberry pi as soon as you could (end of February) and there was such a demand I didnt get it until mid june.
This little guy is about the size of a credit card, cost $35 and is a full fledged computer with 2 USB, HDMI, composite video, and gpio pins. We are currently using this to watch movies/music I've loaded onto a network storage device. I also have dlna and airplay running (this allows anyone with an iphone/android to play video directly from their phone to our TV in real time.
Alot of newer TV's have "smart" capabilities built in, this device allows me to do anything those TV's can do, and anything else I can think of. Once we start adding more smart home devices (like automated lights, door locks, garage door, etc) these will all be controllable via phones/ computers/ and now the TV.
Here is my first test with a few smart outlets and light sockets controlled via my phone which is talking to the raspberry pi.
I've also started to reclaim old tech projects for the house. I purchased an 8" touchscreen digital picture frame that happens to be running linux (a very hackable operating system if you are a nerd). I am now using this as a touchscreen remote for the tv that sits next to Halley so she can better control the fancy new smart tv.
But the nice thing about all of these "toys" is that they are running operating systems that allow me to literally do anything I can dream up, so as the house grows, the amazing silly thing I'll be able to do with these will get better and better.
Umbrella stand fix
The base of the cantelever umbrella stand got bent as the umbrella blew over in a gust of wind. We got by with stacking a few cinder blocks on the back of the stand but that was a temporary solution. Halley constructed a new support system out of pressure treated lumber. She sandwiched 1" x 6" lumber between two 2" x 4"s to account for the strange shape of the base. She secured it with galvanized screws so it will stand up to the elements. No more tipping umbrella for us!
It's been a while since the lightning strike that blew out all of our HDMI ports, since then we have learned that
Our insurance is terrible, and makes little sense
Get a better surge protector and a whole house surge protector
Plasma TV's are surprisingly simple to fix.
The main board is on the bottom left
Halley decreed that this must get fixed before the Olympic coverage began. I took a wild guess and assumed that the only damaged board would be the "main" board. This is the "brains" of the TV. This is also the board with all of the HDMI ports, and I hoped that the damage started and ended there. I found a used board from the same series on ebay (not the same TV... this will come into play later) for $60. MUCH less than Panasonic wanted to fix the problem, and MUCH MUCH less than a new TV.
For reference, the entire size of the plug in the picture is the width of my index finger
Once the part came I quickly found out smaller TV's do not have fans in them. (out TV is 50", the main board I ordered was from the 46" model of our TV's line) The board had the surface mound pads but no socket to plug into. I decided to strip the wires and solder to the leads.
The only soldering iron I had was a crummy radio shack pencil that had two thrilling modes, on and off, so I decided this would be a perfect time to get a big boy soldering iron. I purchased the Weller WLC100 40 watt soldering iron station. Due to the itty-bittiness of the pads I needed to solder to, I ordered some really awesome fine tips for the soldering iron as well.
Once all the goodies came, I soldered it all together without globbing solder onto the entire area and was pretty proud of myself (considering how awful most of my solder projects look) I even got a seal of approval from the solder god himself Dustin (from Invidi) I put the TV all back together and soon found out that not only was it missing the jack for the fans, but it also lacked the programming to power the fans, or even monitor the fans (after reading the service manual, the TV isnt even supposed to turn on if the fans are missing).
Dustin - The self proclaimed Solder God
The backup plan was to just buy a separate power supply for the fans and have two plugs coming out of the TV. I decided to make it less kludge-tastic than most of my projects by buying the female end to the power supply jack I bought (instead of just stripping the wires and hard wiring to the fans). We bought some epoxy and drilled a hole in the back of the TV and I have to say, well I'll let Gladdos describe it.
Finished product! Functional TV, with an added port for the fan's power supply
Pools hate pine trees
Our pool has a large number of trees around/over top of it. 90% of the debris we get is from a large pine in the corner of the yard. On hot days we curse at it while we skim frantically before we hop in. We found a pool robot on craigslist for $300 (they normally go for over $1000) and the couple was nice enough to include an extra broken one for parts! Halley has lovingly named him "pooli". Also its a "he" I guess?
I wanted to make sure he was covering the entire pool, so I did a timelapse of him running all day, and he works very well. He uses suction to pull whatever debris is on the walls/floor of the pool into his filter.
Timelapse
Unfortunately pooli only gets what has sunk to the bottom. Floating debris is supposed to go into the skimmers on the side of the pool but due to the evil pine tree, our skimmers get full just about daily.
I found a pool-nerd website http://www.troublefreepool.com/ with a great forums section that recommended getting a "poolskim". This genius product takes the water pressure from the pools returns, and shoots it across the bottom of a cylinder which sucks the water down with it. It's floating "hat" stays on the surface level of the water to allow a steady trickle of water from the surface to come in (which brings surface debris along with it) The energy this device uses to clean your pool is already there, so it's cost to run is basically free. I did have to add a limiter to the second pool return to give the device the pressure it needed so I would imagine it is making the pool pump work a bit harder than normal. (stupid first law of thermodynamics)
Between these two new pool cleaners (and eventually cutting down/trimming back a few of the offending trees) We hope to have a sparkling clean pool all summer long...?